How to Setup Headphones on Macbook and Windows
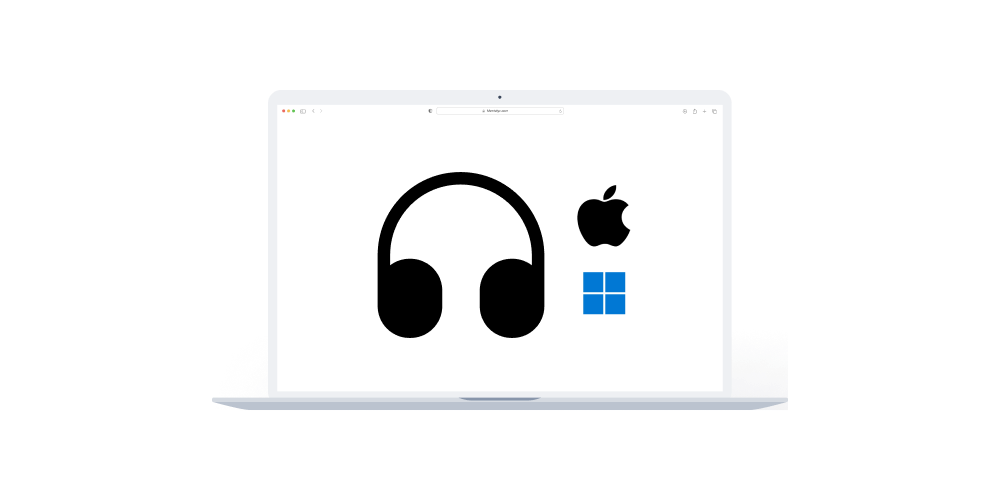
This guide provides instructions on setting up audio recording for your online therapy sessions using a Macbook or Windows computer. To effectively capture both your voice and your client's voice during sessions, proper audio configuration is essential.
This article has two sections:
Section A: Setting Up Headphones on a Macbook
Section B: Setting Up Headphones on Windows
Section A: Setting Up Headphones on a Macbook
- Configure Audio Input:
- Open the System Preferences menu.
- Click on Sound.
- Under the Input tab, make sure your microphone (likely your headset or AirPods) is selected.
- Start Recording:
- Launch your preferred recording software (OBS Studio is an option we have tested).
- Within the recording software, Navigate to the "Settings" menu. Under "Audio Input Capture," make sure your microphone (likely your headset or AirPods) is selected as the "Mic/Aux" device.


- Once everything is set up, click the "Start Recording" button in the bottom right corner of the OBS Studio window. Your session will now be captured!
- Stop Recording:
- Once your session is complete, click the "Stop Recording" button within the recording software.
Don't forget to test! Record a short practice call and listen back. This is crucial to confirm you can hear both your voice and your client's voice clearly before your first session.
For a complete guide on how to record your session using OBS studio on your Macbook, click here.
Section B: Setting Up Headphones on Windows
- Access the Sound Control Panel:
- Search for "Control Panel" in the Windows Start menu and open it.
- Change the view to "Large icons" or "Small icons" if needed.
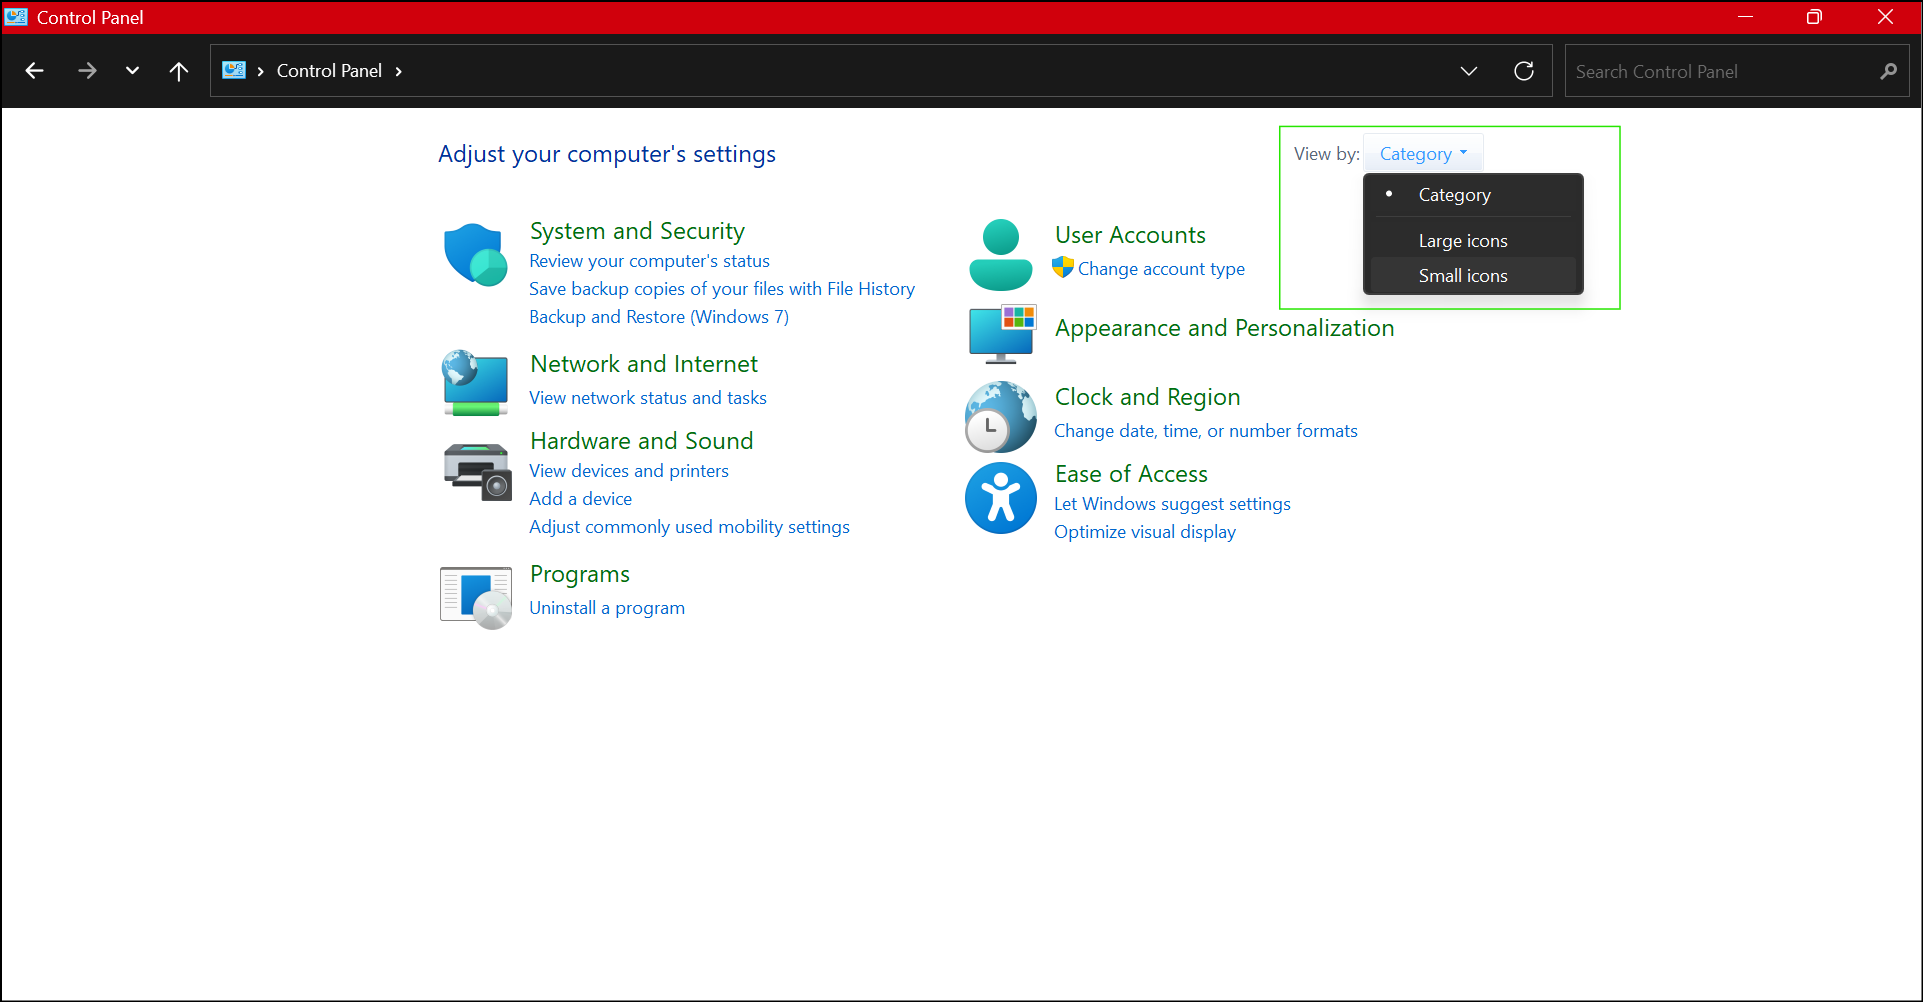
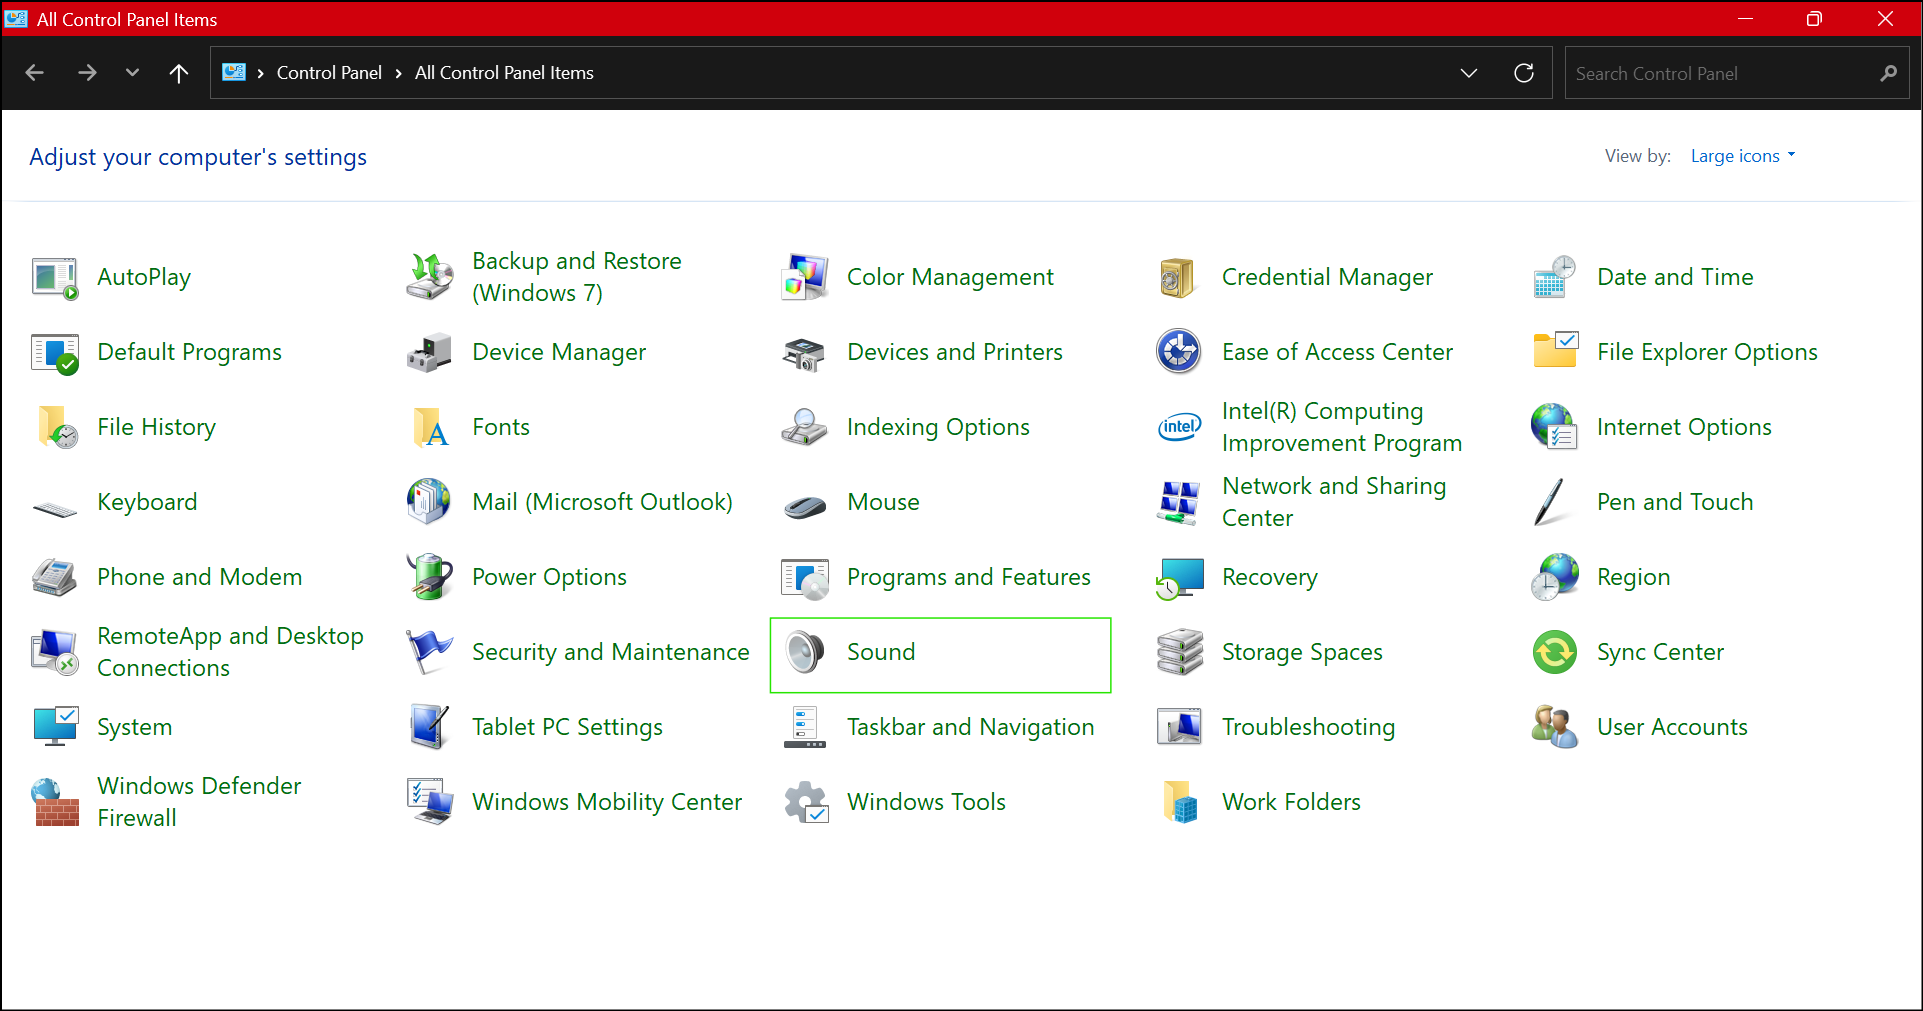
- Click on "Sound".
- Select the Recording Device:
- In the "Sound" window, switch to the "Recording" tab.

- Right-click on your microphone (likely labeled "External Microphone") and select "Set as Default Device".

- In the "Sound" window, switch to the "Recording" tab.
Don't forget to test! Record a short practice call and listen back. This is crucial to confirm you can hear both your voice and your client's voice clearly before your first session.
For a complete guide on how to record your session using Bandicam on your PC, click here.